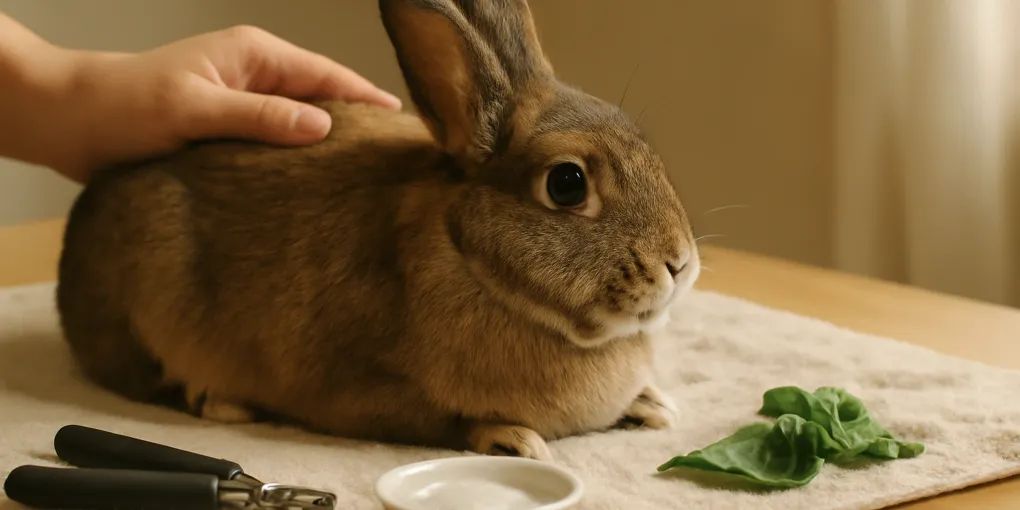
Rabbit Nail Trimming Protocol: Clippers, Towels, Styptic Powder, and Calm Handling
ProtocolQuick picks
| Product | Key Specs |
|---|---|
| See price on Amazon |
|
| See price on Amazon |
|
| See price on Amazon |
|
Product availability, certifications, and retailer details can change; check the current Amazon page before buying.
The short version
Trim less nail than you think, keep bleeding backup within reach, and stop while the rabbit is still calm. A rabbit nail trim is not a speed contest. It is a handling session with a grooming goal.
This protocol pairs well with a stable home setup such as our rabbit litter training protocol because traction, predictable handling, and routine observation all reduce grooming drama.
What to buy before the first trim
You need three things before you start: sharp small-animal clippers, pet styptic powder, and a towel or mat that gives traction. Treats help, but tools and restraint choices matter more than bribery.
- Search Amazon for small animal nail clippers for rabbits
- Search Amazon for pet styptic powder
- Search Amazon for washable rabbit grooming mats
RSPCA rabbit health-check guidance includes nails as part of routine welfare monitoring, and its broader rabbit welfare advice emphasizes calm, secure handling. Those two ideas should guide the whole session: see the nail clearly, but do not force the rabbit into panic.
Source: RSPCA rabbit health checks
Step 1: choose the right time and surface
Trim after the rabbit has eaten and is settled, not during the most active part of the day. Use a quiet room, good light, and a surface with traction. A slick table makes the rabbit fight for balance, which looks like bad behavior but is often fear.
Some owners trim on the floor with the rabbit between their knees. Others use a low table with a helper. The safest setup is the one where the rabbit is fully supported, cannot jump from height, and does not need to be flipped onto its back.
Step 2: inspect the nails before clipping
Look for the quick, the pink blood supply inside the nail. It is easier to see in pale nails. In dark nails, use strong side lighting and trim only the hooked tip. If you cannot identify a safe cut line, ask a rabbit-savvy veterinarian or groomer to demonstrate once.
Overgrown nails can change foot posture and snag on fabric. Broken nails can bleed and hurt. Nail checks are also a chance to notice sore hocks, mats around the feet, swelling, or reluctance to bear weight.
If the nail is already curled toward the pad, do not try to restore perfect length in one session. Trim the tip, let the quick recede over time, and schedule another small trim. Aggressive catch-up cuts are where many first-time owners make painful mistakes.
Step 3: use the two-person hold when possible
One person supports the rabbit’s chest and hindquarters while the other trims. Keep the body close to the holder’s torso. Expose one foot at a time instead of stretching the whole leg outward.
If you are alone, work slowly with the rabbit on a towel and trim one or two nails per mini-session. There is no rule that all nails must be finished in one sitting. For anxious rabbits, a four-day plan is often safer than a wrestling match.
Step 4: cut tiny amounts
Place the clipper perpendicular to the nail tip, not at a crushing angle. Clip a very small amount, then reassess. On dark nails, look at the cut surface after each tiny trim; a darker center can mean you are approaching the quick.
Do not clip while the rabbit kicks. Wait for stillness, reposition, or stop. A sudden jerk can turn a cautious trim into a painful cut.
Step 5: handle bleeding calmly
If you nick the quick, apply pet styptic powder with gentle pressure. Keep the rabbit quiet and do not let it run across carpet while the nail is bleeding. Most small nicks stop quickly, but persistent bleeding, a split nail, or obvious pain needs veterinary advice.
This is why styptic powder should be open and reachable before the first clip. Searching for supplies while holding a frightened rabbit is how minor mistakes become bigger problems.
Step 6: reward and record
Offer a favorite green or pellet after the session, then write down the date and any problem nails. Many rabbits need nail checks every 4 to 6 weeks, but older, less active, or mostly indoor rabbits may need closer monitoring.
Watch the rabbit walk after the trim. Call a veterinarian if you see limping, repeated licking at one foot, swelling, or a torn nail.
When to outsource the trim
Use a rabbit-savvy veterinarian or experienced groomer if your rabbit panics, has very dark overgrown nails, has sore hocks, has a history of spinal injury, or cannot be safely supported. Also outsource the first trim if you are nervous enough that your hands shake; rabbits feel that tension.
Avoid anyone who flips rabbits onto their backs casually or treats struggling as disobedience. Rabbits are prey animals with fragile backs. Calm support beats dominance handling.
Rabbit nail trimming FAQ
Can I use human nail clippers?
For tiny tips on very small rabbits, some owners do, but small-animal clippers usually give better visibility and control. Use whatever cuts cleanly without crushing.
How short should rabbit nails be?
Short enough that the hooked tip is removed and the foot rests comfortably, but not so short that you approach the quick. Conservative trims repeated on schedule are safer than aggressive cuts.
What if my rabbit hates having feet touched?
Practice foot handling without clipping. Touch, reward, release. Build up to lifting one paw for a second, then two seconds, then one nail. If the rabbit escalates, stop and ask for professional help.
Frequently Asked Questions
- Many house rabbits need a check every 4 to 6 weeks, but growth rate, flooring, age, and activity change the schedule.
- Apply pet styptic powder with gentle pressure, keep the rabbit calm, and call a veterinarian if bleeding does not stop promptly or the rabbit seems painful or weak.
- No. Avoid trance-like restraint. Use calm, supported handling and stop if the rabbit panics.